This week's
TWD selection comes from Elizabeth
at
Ugg Smell Food. I will be very honest...I am not a huge fan of peanut butter desserts. Don't get me wrong, as I'm not a hater of peanut butter. I love eating PB&J sandwiches and enjoy slathering PB on apples, but I've never developed a fondness of PB cakes, pies, cookies, candy, ice cream etc (strange isn't it?). I've never tried a PB mousse, so I'm giving PB based desserts one more try.

Instead of a 9" springform pan, I used a 7" and two 4" springform pans(showing only one of the mini tortes here).

The recipe was uncomplicated and the torte came together very quickly. I made the following tweaks to the original receipe:
- increase the quantity of oreos (the recipe asked for 24 - I used 30)
- increase the amount of mini chips (the recipe called for 1/2 C - I used 1 C).
- reduced the amount of sugar in the mousse (the recipe called for 1 1/4 C - I used 1 C

For the larger torte, I didn't pull the crust all the way up the side of the pan, as I wanted to show off the decadent mousse.

Overall, the texture of the cold fluffy mousse really helped to offset the heaviness and richness of the peanut butter. The mousse was a nice, creamy, slightly salty contrast to the sweet crunchy crust. This is a wonderful recipe, and this is definitely one to repeat for my PB lovin' friends....and for me!
Peanut Butter TorteFrom Baking From My Home to Yours, By Dorie GreenspanIngredients1 ¼ c. finely chopped salted peanuts (for the filling, crunch and topping)
2 teaspoons sugar
½ teaspoon instant espresso powder (or finely ground instant coffee)
¼ teaspoon ground cinnamon
Pinch of freshly grated nutmeg
½ c. mini chocolate chips (or finely chopped semi sweet chocolate)
24 Oreo cookies, finely crumbed or ground in a food processor or blender
½ stick (4 tablespoons) unsalted butter, melted and cooled
Small pinch of salt
2 ½ c. heavy cream
1 ¼ c confectioners’ sugar, sifted
12 ounces cream cheese, at room temperature
1 ½ c salted peanut butter – crunchy or smooth (not natural; I use Skippy)
2 tablespoons whole milk
4 ounces bittersweet chocolate finely chopped
Getting ready:Center a rack in the oven and preheat the oven to 350°F. Butter a 9-inch Springform pan and place it on a baking sheet lined with parchment or a silicone mat.
Toss ½ cup of the chopped peanuts, the sugar, espresso powder, cinnamon, nutmeg and chocolate chops together in a small bowl. Set aside.
Put the Oreo crumbs, melted butter and salt in another small bowl and stir with a fork just until crumbs are moistened. Press the crumbs evenly over the bottom and up the sides of the spring form pan (they should go up about 2 inches on the sides). Freeze the crust for 10 minutes.
Bake the crust for 10 minutes, then transfer it to a rack and let it cool completely before filling.
Working with a stand mixer fitted with the whisk attachment or with a hand mixer in a large bowl, whip 2 cups of the cream until it holds medium peaks. Beat in ¼ cup of the confectioners’ sugar and whip until the cream holds medium-firm peaks. Crape the cream into a bowl and refrigerate until needed.
Wipe out (do not wash) the bowl, fit the stand mixer with the paddle attachment if you have one, or continue with the hand mixer, and beat the cream cheese with the remaining 1 cup confectioners’ sugar on medium speed until the cream cheese is satiny smooth. Beat in the peanut butter, ¼ cup of the chopped peanuts and the milk.
Using a large rubber spatula, gently stir in about one quarter of the whipped cream, just to lighten the mousse. Still working with the spatula, stir in the crunchy peanut mixture, then gingerly fold in the remaining whipped cream.
Scrape the mouse into the crust, mounding and smoothing the top. Refrigerate for at least 4 hours, or overnight; cover with plastic wrap as soon as the mousse firms.
To Finish The Torte:Put the chopped chocolate in a heatproof bowl and set the bowl over a saucepan of simmering water. Leave the bowl over the water just until the chocolate softens and starts to melt, about 3 minutes; remove the bowl from the saucepan.
Bring the remaining ½ cup cream to a full boil. Pour the cream over the chocolate and , working with a a rubber spatula, very gently stir together until the ganache is completely blended and glossy.
Pour the ganache over the torte, smoothing it with a metal icing spatula. Scatter the remaining ½ cup peanuts over the top and chill to set the topping, about 20 minutes.
When the ganache is firm, remove the sides of the Springform pan; it’s easiest to warm the pan with a hairdryer, and then remove the sides, but you can also wrap a kitchen towel damped with hot water around the pan and leave it there for 10 seconds. Refrigerate until ready to serve.
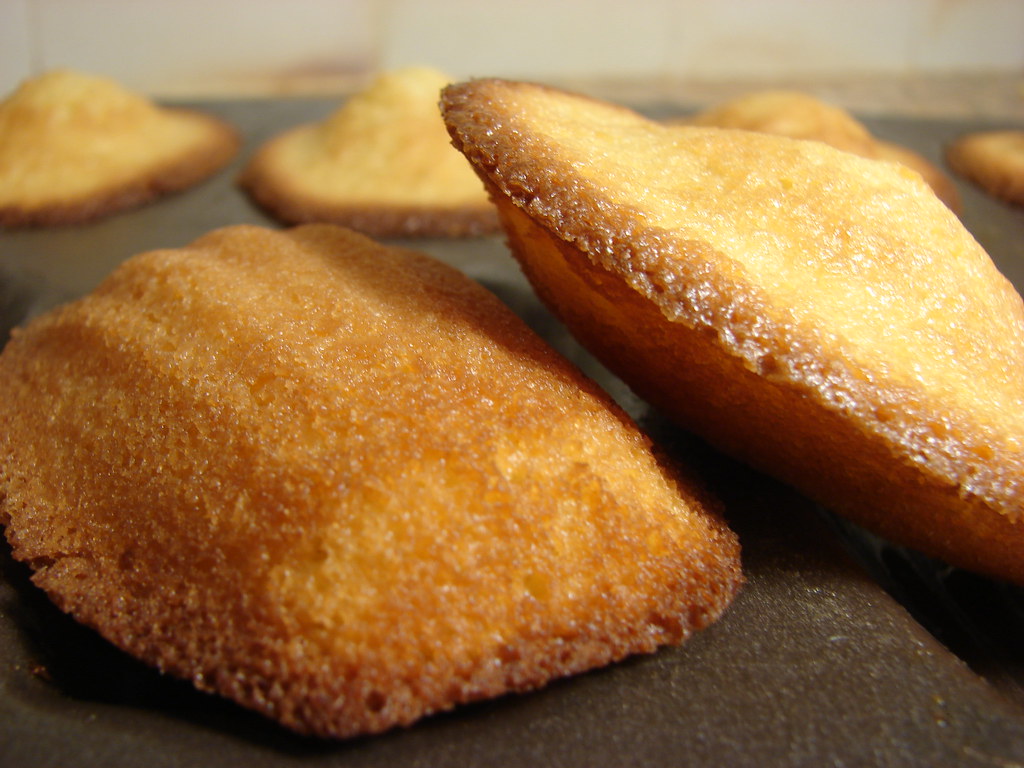 I was delighted to find out that Tara from Smells Like Home selected Traditional Madeleines for Tuesdays With Dorie!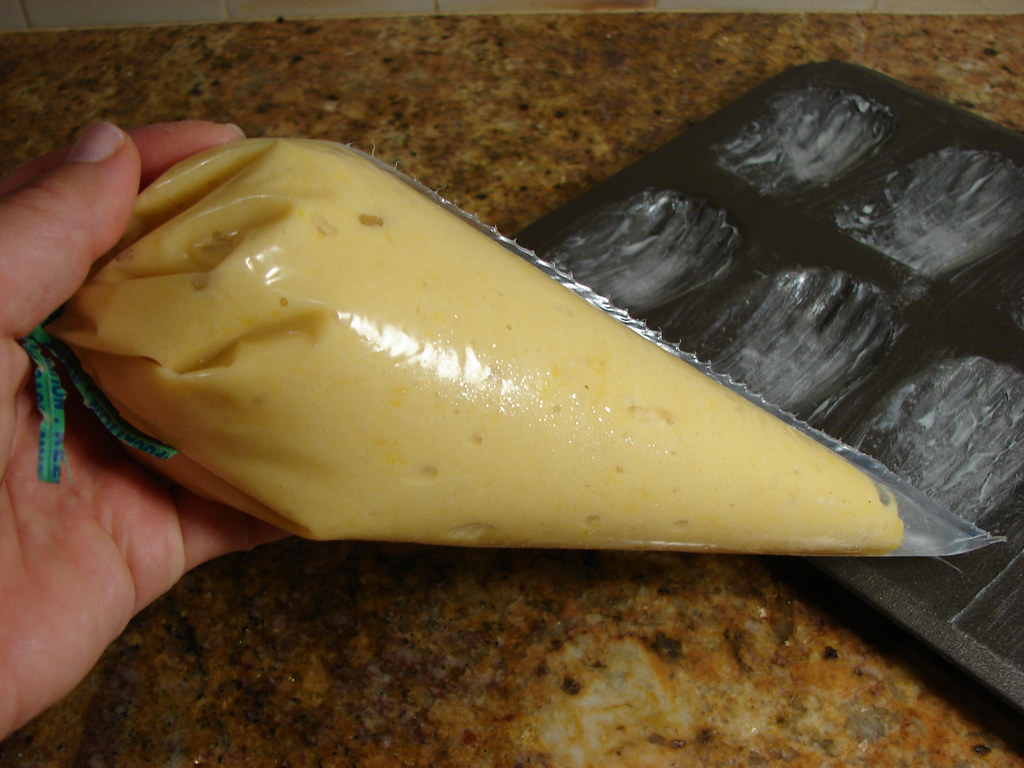
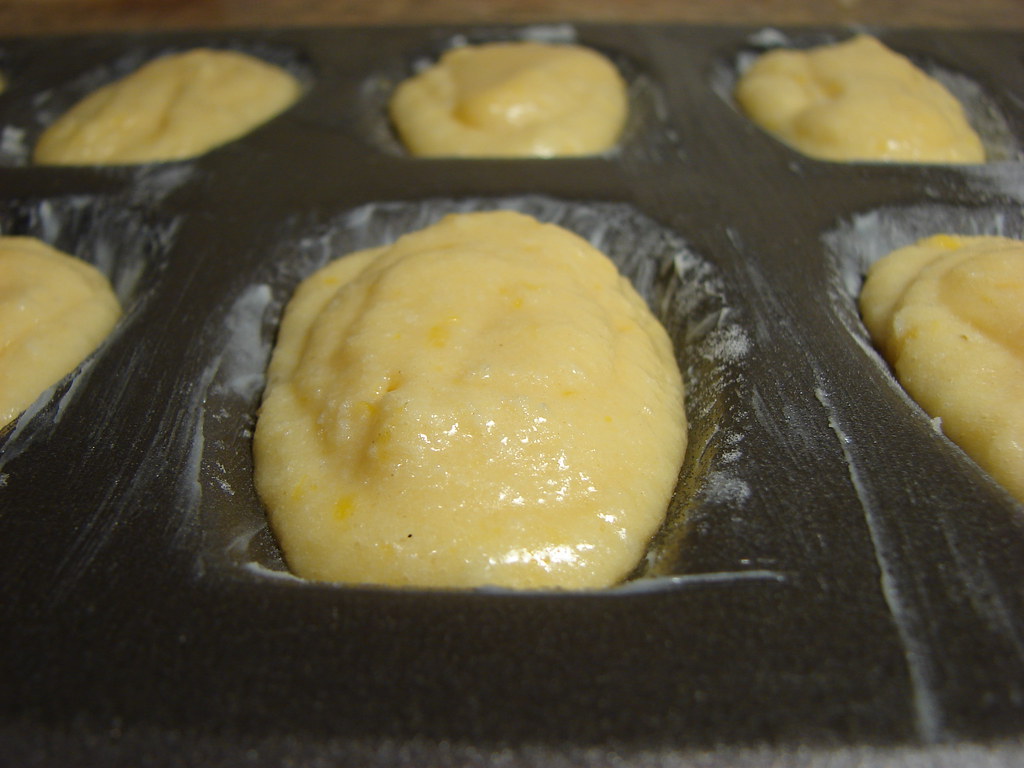 I've repeatedly used a recipe from Baking with Julia, which calls for a traditional genoise cake batter. When comparing the two recipes, I noted that this version slightly varies: