Tuesday, June 10, 2008

La Palette's Strawberry Tart w. Mascarpone Ice Cream (TWD)

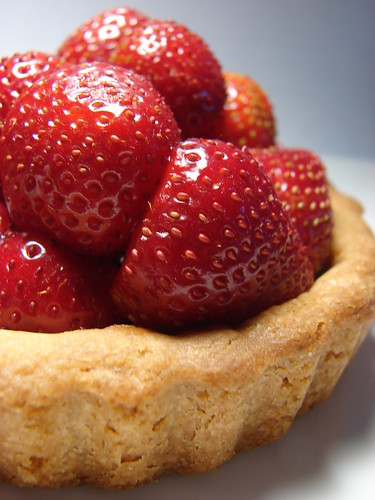
This week’s Tuesdays With Dorie selection, La Palette’s Strawberry Tart, comes courtesy from Marie at A Year From Oak Cottage. This selection couldn’t have come at a better time, as my local farmers market is teeming with a wide array of gorgeous fruit. There were so many choices that I had a hard time deciding what to buy: gaviota strawberries or golden raspberries, blackberries or yellow peaches, blueberries or plums? Previously, my answer would have been “all of the above”. I would bring home so much fruit that my bewildered hubby would ask what mob I was planning to feed (at home it is just the two of us). Exercising some self control this time, I whittled my choices down to two: gaviota strawberries and blackberries.


I LOVED this recipe, as we had the opportunity to improvise as much as we wanted to suit individual tastes. Aside from baking the tart shell, this was an exercise of assembling the components (which left me more time to enjoy my weekend!). Here is my take on the recipe:

- Instead of using large tart pan, I went with two individual tartlette pans. I ended up making the full tart shell recipe, using half and freezing the other half.
- Blackberry and strawberry jams were used for the base.
- I didn’t bother tossing the fruit in sugar as both berries was perfectly ripe and super-sweet. I did sprinkle some blackberry liqueur on the blackberries and put a few drops of really good, aged balsamic vinegar on the strawberries (This is a DELICIOUS combination --- the balsamic really enhances the sweetness of the berries. Make sure to use a high quality, aged balsamic vinegar)
- Omitted the black pepper.
- Instead of crème fraiche/whipped cream, mascarpone ice cream stepped in to accompany the tart. This delicious ice cream is a twist on a crème fraiche version featured in David Lebovitz’s The Perfect Scoop (the recipe is below). As I have plenty of ice cream left, I need to figure out what to do with the rest of the ice cream (tiramisu bombe, ice cream sandwich, affogato, more tartlettes?). I promise to post on this later.

Overall, this is a really terrific recipe! The strawberry tart definitely took an Italian turn with the balsamic and mascarpone, and the blackberry version was a perfect balance of tart and sweet. The crunchy shortbread-like crust and juicy berries were nicely complemented by the creamy, not over-the-top sweet ice cream. This tart recipe will be making many appearances at my house this summer!

Often, the best desserts are the simplest ones, and I’m glad we didn’t overlook this delicious recipe. Dorie Greenspan highlighted this recipe last summer at Serious Eats, so if you’re interested in creating this yourself (I highly encourage you to do so), here is the link. To check out the yummy creations of my fellow bakers, check out Tuesdays With Dorie.


Mascarpone Ice Cream
Adapted from The Perfect Scoop by David Lebovitz
Makes 1 Quart


Ingredients
1 C whole milk
3/4 C vanilla sugar
pinch of salt
5 large egg yolks
2 C mascarpone

- Warm the milk, sugar, and salt in a medium saucepan. In a separate bowl, whisk together the egg yolks. Slowly pour the warm milk into the egg yolks, whisking constantly, then pour the warmed egg yolks back into the saucepan.
- Stir the mixture constantly over medium heat until it thickens. If you're using a candy thermometer, warm the mixture to 170F. Pour the custard through a strainer and stir until cool over an ice bath. Chill thoroughly in the refrigerator.
- Once cool, whisk in the mascarpone, then freeze in an ice cream maker.

Tuesday, June 3, 2008

French Chocolate Brownies (TWD)

This weeks Tuesdays With Dorie selection French Brownies comes to us courtesy of Di at Di's Kitchen Notebook . Now, I don't know of anyone who doesn't appreciate the rich decadence and deep chocolatey flavor of a brownie. From these brownie aficianados, there are definite opinions on texture (cakey vs. fudgy), type of chocolate (semi-sweet vs bittersweet), and additions (choc chips, nuts, or no additions). Let's start by saying that I am of the cakey, bittersweet, no addition camp.


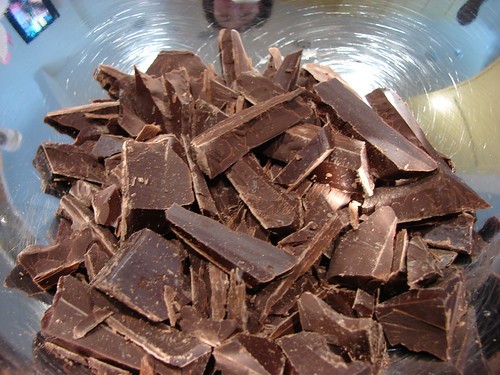
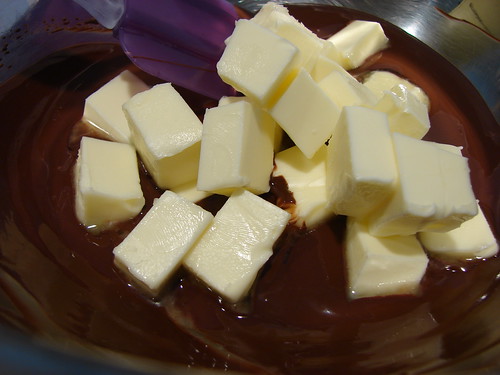
For me, the most important ingredient in any brownie recipe is the chocolate. I always try to find the best quality chocolate, as it will dictate the flavor of the final product. I love using the Valrhona brand, and there is always a block on hand at my house for these baking occasions! BTW, this was the first time I attempted taking pictures during the preparation work...the key word here is "attempted", as I didn't fare too well with blurry pictures and messy hands. This was a lot harder that I assumed, so I commend all of you who do this on a regular basis!


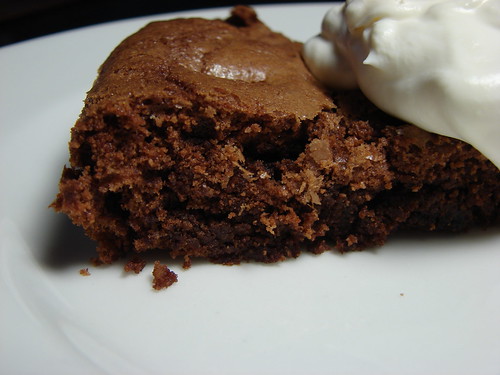
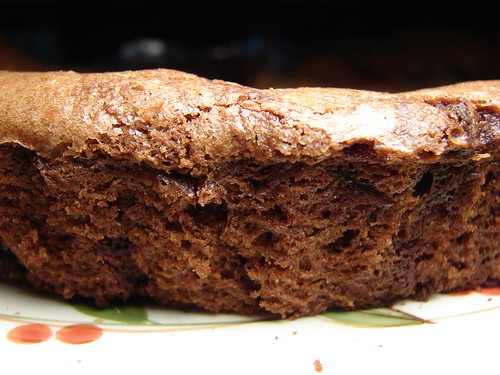
The technique for this recipe is definitely different from a traditional brownie, as it requires beating the sugar and eggs in a mixer before folding in the other ingredients. I suspect that the light, flaky, cakey texture results from this process. The only substitution I made to the original recipe was to switch out rum raisins with cognac soaked dried cherries.


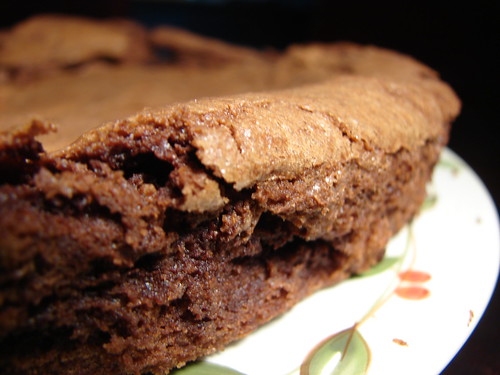
I used a 9" tart pan in lieu of an 8" square pan, and ended up with a thinner layer. I don't know about everyone else, but I had challenges unmolding the brownie from the pan, as the texture was so delicate. Still, there is something really charming about the cracked top and rustic "free form" of this brownie.


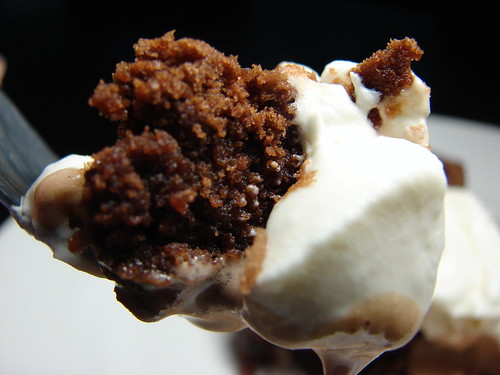
The verdict? I really liked the light cakey texture and the deep chocolatey flavor. It wasn't overwhelmingly rich like other brownie recipes ...for me that is a wonderful thing! Also, I really enjoyed the addition of the dried fruit. The tartness and slight chewiness of the cherries serves as a nice contrast to the deep chocolate flavor and tender crumb of the brownie.


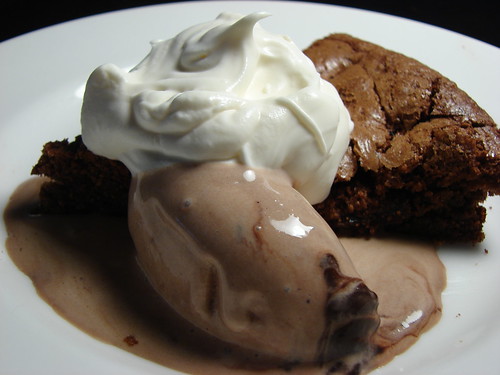
Dorie suggests that this brownie goes well with some accompaniments like whipped creme fraiche or whipped cream, ice cream or chocolate sauce --- or all three! I served this brownie with vanilla whipped cream and a homemade chocolate malted ice cream (I will post separately on the ice cream), and I have to say that the combination was heavenly! If you're interested in trying this out (which I wholeheartedly recommend), the recipe is below. Also, check out what my fellow bakers are doing at Tuesdays With Dorie.


French Chocolate Brownies
Adapted from Baking From My Home to Yours by Dorie Greenspan
Makes 16 brownies


Ingredients
1/2 cup all-purpose flour
1/8 teaspoon salt
1/8 teaspoon cinnamon (optional)
1/3 cup raisins, dark or golden
1 1/2 tablespoons water
1 1/2 tablespoons dark rum
6 ounces bittersweet chocolate, finely chopped
1 1/2 sticks (12 tablespoons; 6 ounces) unsalted butter, at room temperature and cut into 12 pieces
3 large eggs, at room temperature
1 cup sugar

Getting ready:
Center a rack in the oven and preheat the oven to 300°F.

Line an 8-inch square baking pan with foil, butter the foil, place the pan on a baking sheet, and set aside.

Whisk together the flour, salt and cinnamon, if you're using it.

Put the raisins in a small saucepan with the water, bring to a boil over medium heat and cook until the water almost evaporates. Add the rum, let it warm for about 30 seconds, turn off the heat, stand back and ignite the rum. Allow the flames to die down, and set the raisins aside until needed.

Put the chocolate in a heatproof bowl and set the bowl over a saucepan of simmering water. Slowly and gently melt the chocolate, stirring occasionally. Remove the bowl from the saucepan and add the butter, stirring so that it melts. It's important that the chocolate and butter not get very hot. However, if the butter is not melting, you can put the bowl back over the still-hot water for a minute. If you've got a couple of little bits of unmelted butter, leave them—it's better to have a few bits than to overheat the whole. Set the chocolate aside for the moment.

Working with a stand mixer with the whisk attachment, or with a hand mixer in a large bowl, beat the eggs and sugar until they are thick and pale, about 2 minutes. Lower the mixer speed and pour in the chocolate-butter, mixing only until it is incorporated—you'll have a thick, creamy batter.

Add the dry ingredients and mix at low speed for about 30 seconds—the dry ingredients won't be completely incorporated and that's fine. Finish folding in the dry ingredients by hand with a rubber spatula, then fold in the raisins along with any liquid remaining in the pan.

Scrape the batter into the pan and bake 50 to 60 minutes, or until the top is dry and crackled and a knife inserted into the center of the cake comes out clean. Transfer the pan to a rack and allow the brownies to cool to warm or room temperature.

Carefully lift the brownies out of the pan, using the foil edges as handles, and transfer to a cutting board. With a long-bladed knife, cut the brownies into 16 squares, each roughly 2 inches on a side, taking care not to cut through the foil.

Serving: The brownies are good just warm or at room temperature; they're even fine cold. I like these with a little something on top or alongside—good go-alongs are whipped crème fraiche or whipped cream, ice cream or chocolate sauce or even all three!

Storing: Wrapped well, these can be kept at room temperature for up to 3 days or frozen for up to 2 months.

Sunday, June 1, 2008

Red Velvet Cupcakes

In Los Angeles, cupcakes are ubiquitous. Every bakery you visit showcases a wide array of flavors and presentations. Red velvet is a flavor that every bakery replicates, and there is huge debate on which is the best. From what people shared with me, they delight in the shocking, totally unnatural red color and savor the delicate flavor of the cake and rich frosting.

I like red velvet, but I can't say that I love it, as I think that there are so many other delicious flavors to invest my calories in. Thus, I have never had a deep desire to bake a red velvet cake.

This weekend, I planned on baking cupcakes for a colleague at work to celebrate her birthday. This was the perfect excuse to try out a red velvet recipe! I did some extensive researching on the internet (boy o boy, people are really passionate about what makes the perfect red velvet cake!) and decided to go for this recipe at Food Network.


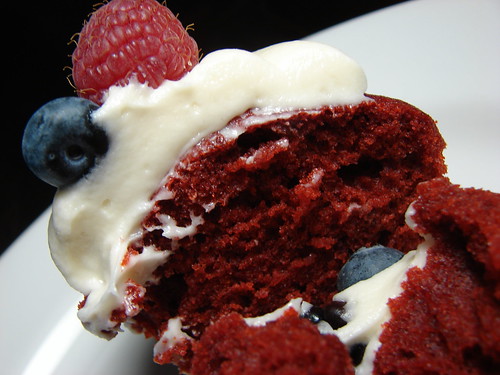
The verdict on this first try--- I liked the flavor of the moist crumb of the cake. The cream cheese frosting goes really well with the cake.


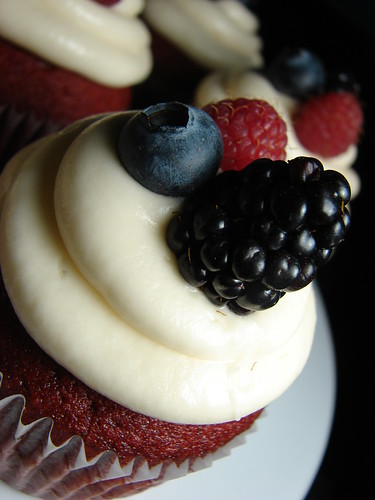
Colorwise, I don't think I put enough red food coloring (red velvet calls for an alarming amount of red food coloring), so I ended up with maroon velvet. Regardless, with some fresh berries on top, they made for some cute cupcakes. I hope my co-workers will agree!
Blog Widget by LinkWithin