I don't know of a single soul who doesn't swoon over creme brulee, do you? I was really happy that Mari of Mevrouw Cupcake selected this FABULOUS dessert for this week's Tuesdays With Dorie. To elaborate further, let me say that I was happy...my DH was really over-the-moon happy about this week's selection. You see, creme brulee is one of his all time favorite desserts, and he made sure that I didn't slack off this week.
For those of you who are debating the purchase of a kitchen torch, I would absolutely recommend it. I purchased this torch apparatus and canned butane at Surfas a couple years ago (cost of the torch attachment ~$20, butane ~$3). Honestly, I've never regretted this purchase, as I've definitely put this tool to good use. The torch attachment easily screws on the butane can, and this apparatus delivers a pretty powerful flame:
 Anyways, I digress...back to the creme brulee. The literal translation of this is "burnt cream", and creme brulee is essentially a flavored custard topped with a hard caramel.
You can infuse a variety of flavors to the custard (vanilla, chocolate, coffee, chai ---just to name a few). Vanilla is my favorite flavor for this dessert. I prefer using vanilla beans in recipes that call for its flavor to come center stage, so I made one adjustment to the ingredients, omitting the vanilla extract and instead adding the beans and scraped pods of two vanilla beans to the heated cream. I covered the pot and let the cream and vanilla steep for 1 hour before continuing with the recipe.
Dorie Greenspan's technique is a bit different that what I'm used to doing in the following ways:
- baking at a low temperature (200F) for a longer time period (~ 1 hour). I bake at a temperature of 300F and a baking period of 20-25 minutes.
- no water bath --- you place the ramekins straight on a baking sheet. I typically use a water bath or place a well soaked towel underneath the ramekins before they go in the oven.
I was definitely interested in trying Dorie's technique, so I followed her approach. I found that this technique resulted with a really silky smooth and surprisingly light custard. I did find that my custards took longer to set (1 hr 15 min), but I used larger ramekins (only used 4 ramekins) which may be the explanation.
 The torch attachment easily screws on the butane can, and this apparatus delivers a pretty powerful flame: Anyways, I digress...back to the creme brulee. The literal translation of this is "burnt cream", and creme brulee is essentially a flavored custard topped with a hard caramel.
You can infuse a variety of flavors to the custard (vanilla, chocolate, coffee, chai ---just to name a few). Vanilla is my favorite flavor for this dessert. I prefer using vanilla beans in recipes that call for its flavor to come center stage, so I made one adjustment to the ingredients, omitting the vanilla extract and instead adding the beans and scraped pods of two vanilla beans to the heated cream. I covered the pot and let the cream and vanilla steep for 1 hour before continuing with the recipe.
Dorie Greenspan's technique is a bit different that what I'm used to doing in the following ways:
- baking at a low temperature (200F) for a longer time period (~ 1 hour). I bake at a temperature of 300F and a baking period of 20-25 minutes.
- no water bath --- you place the ramekins straight on a baking sheet. I typically use a water bath or place a well soaked towel underneath the ramekins before they go in the oven.
I was definitely interested in trying Dorie's technique, so I followed her approach. I found that this technique resulted with a really silky smooth and surprisingly light custard. I did find that my custards took longer to set (1 hr 15 min), but I used larger ramekins (only used 4 ramekins) which may be the explanation.
Overall, I was really pleased with the results! Although this requires a longer baking time, I'm definitely going to adopt this technique going forward...Thank you Dorie!!!
The perfect accompaniment to creme brulee - assorted berries (blackberries and raspberries pictured here):

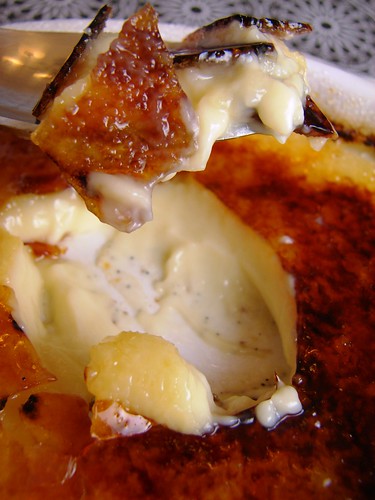
The combination of crunchy and creamy is heavenly! Here, you can see the vanilla beans distributed throughout the custard:


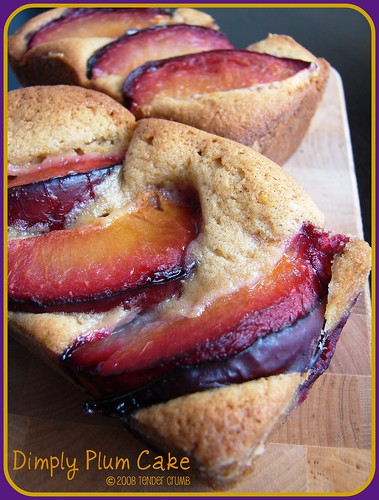
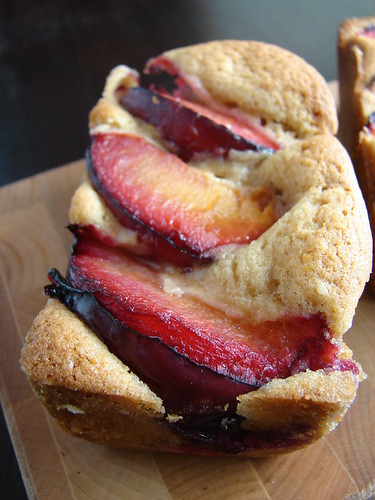
 I love this cake, as the fruit on top tells you exactly what you're eating: