 I received a requrest from a dear friend M, who has been such a wonderful supporter of my baking endeavors, to bake for her mother's 87th birthday. I sat down with M to figure out what she wanted. This conversation resulted with a good news, bad news situation. The good news first - M wanted a decadent chocolate cake. My thought - perfect, I can definitely do this, as I have a perfect recipe! Okay, now the bad news - M's mother does not like chocolate (or cake for that matter), and her only dessert request was cheesecake. Cheesecake???? I've only made cheesecake once in my life like 10 years ago, and it was a horrific mess (undercooked filling, and the waterbath seeped into the cake resulting with a soggy crust...overall a royal pile of shit). Sounds gross? It was really gross!!! I swore I would never make another one...until last week.
 So, what do I do? At 87 years, I owe M's mom a dessert that she would enjoy, so I took a deep breath and promised M that I would deliver on a fabulous and delicious cheesecake. That evening, in a state of panic, I scoured all of my baking books to find a perfect foolproof cheesecake recipe. As I flipped thru Dorie Greenspan's Baking My Home to Yours, she set up a section devoted to cheesecakes. She is a total baking goddess, and almost every recipe I've made from this book was a success. So, I went with her Tall & Creamy Cheesecake recipe (this was highlighted a while back on Serious Eats).
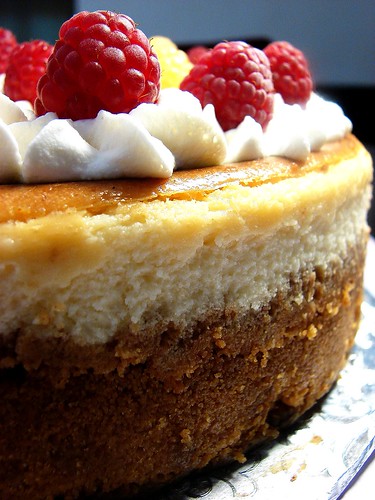 I read all of her pointers, took a deep breath and started to make the cheesecake. I made the filling as directed and dropped in some fresh raspberries to provide a little surprise in the cake. To be quite honest, the ingredients and the preparation is pretty simple and straightforward...it's the baking and unmolding that unnerves me. The cheesecake is baked in a water bath for 90 minutes, and then sits in a cooling oven for another hour. After cooling completely, the cake goes into the frig to chill until ready to serve. So, how do I know that the filling has cooked thru and that the water didn't seep into the springform pan? I won't know, as I couldn't necessarily slice or poke to check for doneness...argh!!!
 Okay, the top was a bit more brown than I anticipated, but that was easily remedied with some vanilla whipped cream and raspberries to decorate the top.
As I had a bit of the filling leftover, I decided to make a mini cheesecake using a 4 inch springform pan. I really wanted to see sample and experience the taste and texture of this recipe. As you can see here, the raspberries look GIGANTIC relative to this little cake:
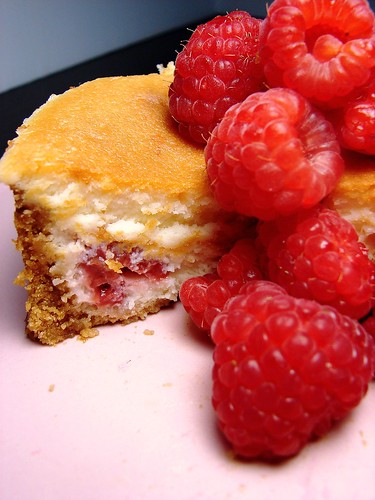 I love seeing the little fruit gems as you slice the cake:
The mini cheesecake was TO DIE for...really delicious. The filling was creamy yet light and fluffy, and imparted a slightly tart flavor which really helped to cut the richness. So, if this little baby is the indicator for the larger cake, I should be in good shape.

Okay, who else wants cheesecake for their birthday...I'm ready for you!!!!
Tall and Creamy Cheesecake: A Basic
- makes 16 servings
-Adapted from Baking From My Home to Yours, by Dorie Greenspan
Ingredients
For the crust (this makes a pretty thick crust, which is my personal preference):
2 1/2 cups graham cracker crumbs
4 tablespoons sugar
Pinch of salt
6 tablespoons unsalted butter, melted
For the cheesecake:
2 pounds (four 8-ounce boxes) cream cheese, at room temperature
1 1/3 cups sugar
1/2 teaspoon salt
2 teaspoons pure vanilla extract
4 large eggs, at room temperature
2/3 cups sour cream
2/3 cups heavy cream
1/2 cups fresh raspberries, plus addt'l for garnishing
Procedure
To make the crust:
1. Butter a 9-inch springform pan—choose one that has sides that are 2 3/4 inches high (if the sides are lower, you will have cheesecake batter leftover)—and wrap the bottom of the pan in a double layer of aluminum foil; put the pan on a baking sheet.
2. Stir the crumbs, sugar and salt together in a medium bowl. Pour over the melted butter and stir until all of the dry ingredients are uniformly moist. (I do this with my fingers.) Turn the ingredients into the buttered springform pan and use your fingers to pat an even layer of crumbs along the bottom of the pan and about halfway up the sides. Don't worry if the sides are not perfectly even or if the crumbs reach above or below the midway mark on the sides—this doesn't have to be a precision job. Put the pan in the freezer while you preheat the oven.
3. Center a rack in the oven, preheat the oven to 350°F and place the springform on a baking sheet. Bake for 10 minutes. Set the crust aside to cool on a rack while you make the cheesecake.
4. Reduce the oven temperature to 325°F.
To make the cheesecake:
1. Put a kettle of water on to boil.
2. Working in a stand mixer, preferably fitted with a paddle attachment, or with a hand mixer in a large bowl, beat the cream cheese at medium speed until it is soft and lives up to the creamy part of its name, about 4 minutes. With the mixer running, add the sugar and salt and continue to beat another 4 minutes or so, until the cream cheese is light. Beat in the vanilla. Add the eggs one by one, beating for a full minute after each addition—you want a well-aerated batter. Reduce the mixer speed to low and stir in the sour cream and heavy cream.
3. Put the foil-wrapped springform pan in the roaster pan.
4. Give the batter a few stirs with a rubber spatula, just to make sure that nothing has been left unmixed at the bottom of the bowl, and scrape 1/2 the batter into the springform pan. Dot the filling with the raspberries, then pour the remaining filling on top. The batter will reach the brim of the pan. (If you have a pan with lower sides and have leftover batter, you can bake the batter in a buttered ramekin or small soufflé mold.) Put the roasting pan in the oven and pour enough boiling water into the roaster to come halfway up the sides of the springform pan.
5. Bake the cheesecake for 1 hour and 30 minutes, at which point the top will be browned (and perhaps cracked) and may have risen just a little above the rim of the pan. Turn off the oven's heat and prop the oven door open with a wooden spoon. Allow the cheesecake to luxuriate in its water bath for another hour.
6. After 1 hour, carefully pull the setup out of the oven, lift the springform pan out of the roaster—be careful, there may be some hot water in the aluminum foil—remove the foil. Let the cheesecake come to room temperature on a cooling rack.
7. When the cake is cool, cover the top lightly and chill the cake for at least 4 hours, although overnight would be better.
Serving: Remove the sides of the springform pan—I use a hairdryer to do this (use the dryer to warm the sides of the pan and ever so slightly melt the edges of the cake)—and set the cake, still on the pan's base, on a serving platter. The easiest way to cut cheesecake is to use a long, thin knife that has been run under hot water and lightly wiped. Keep warming the knife as you cut slices of the cake.
Storing: Wrapped well, the cake will keep for up to 1 week in the refrigerator or for up to 2 months in the freezer. It's best to defrost the still-wrapped cheesecake overnight in the refrigerator.

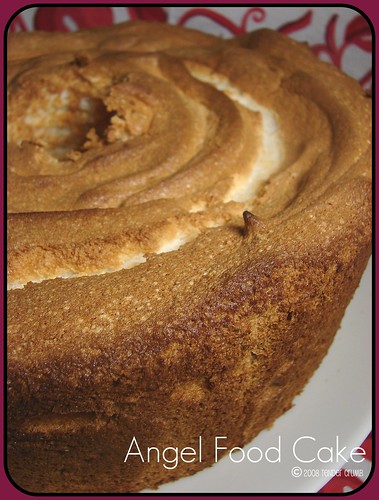
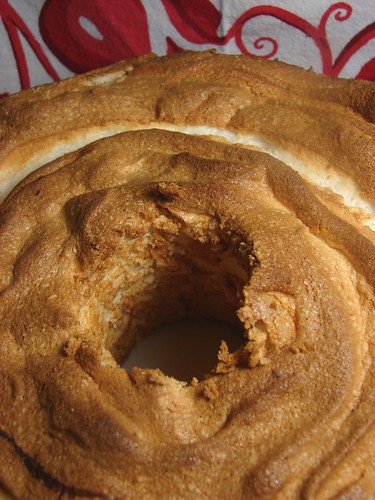
 Most times, I prefer my angel food cake simple and plain. However, this cake acts as a terrific partner to fruit and ice cream. Here, chocolate blueberry ice cream and some fresh blueberries elevates this understated cake to a special little dessert.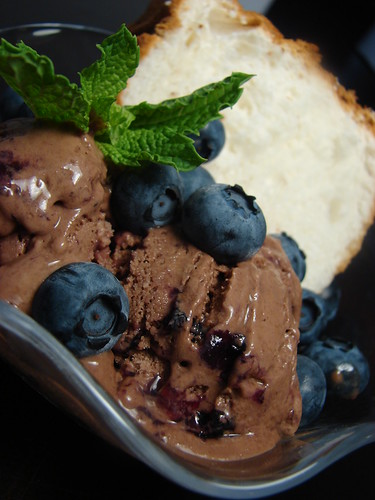
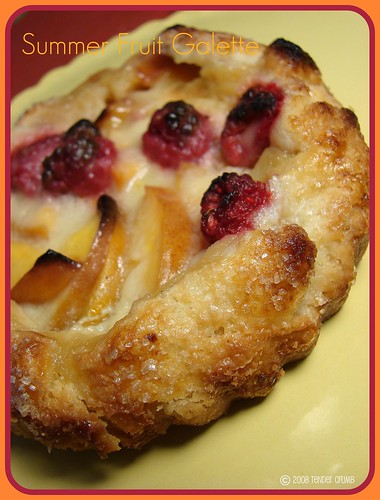

 ...and a scoop of
